
How to Generate Consistent Characters in AI Images
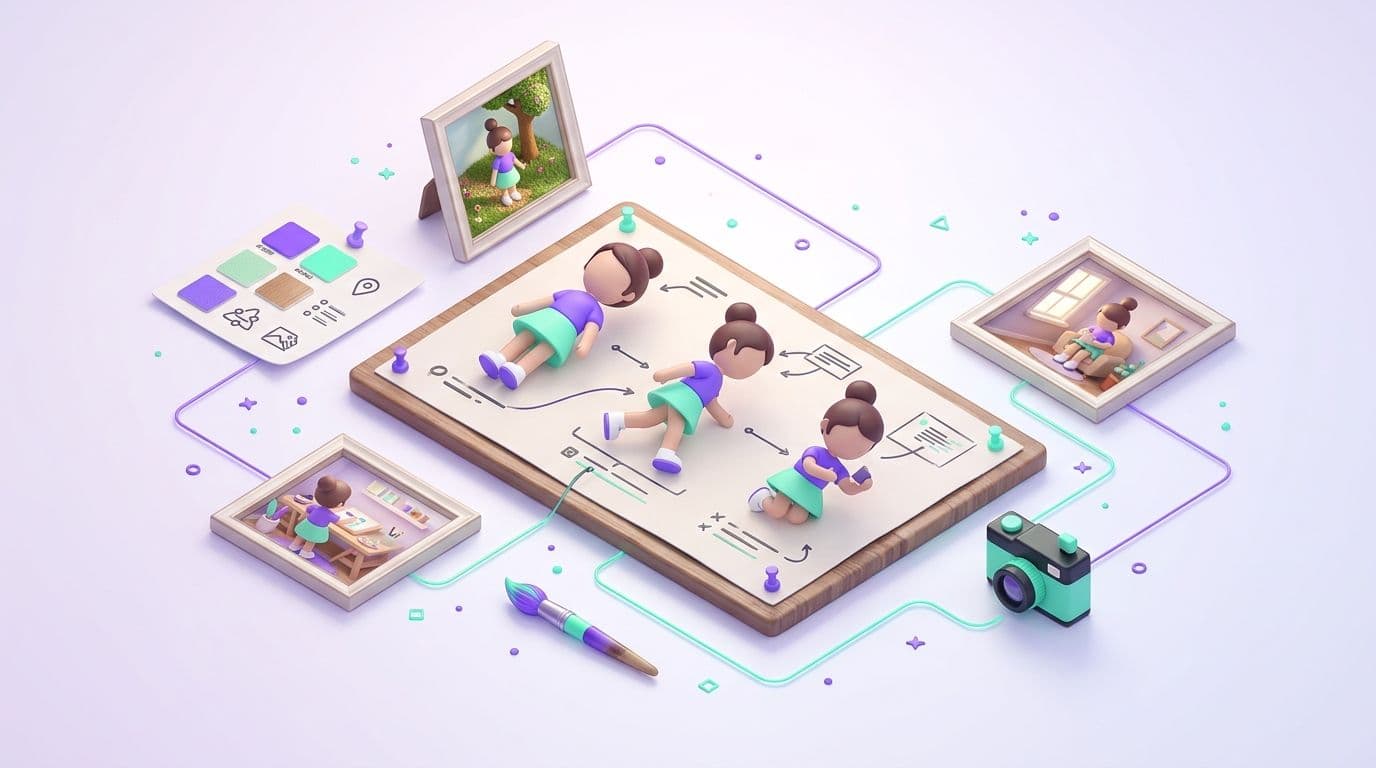
To keep one character recognisable across AI images, you need three things working together. First, a clean master reference image. Second, a fixed text description that you paste unchanged into every prompt. Third, an image model that accepts reference images. Text alone won't do it, because every generation reinterprets your words from scratch.
You can make your first sheet in the AI character generator or in any image model that handles long prompts well. The steps: build a character sheet, lock the description, generate scenes from the reference, and fix drift when it creeps in.
Why AI models forget your character between images
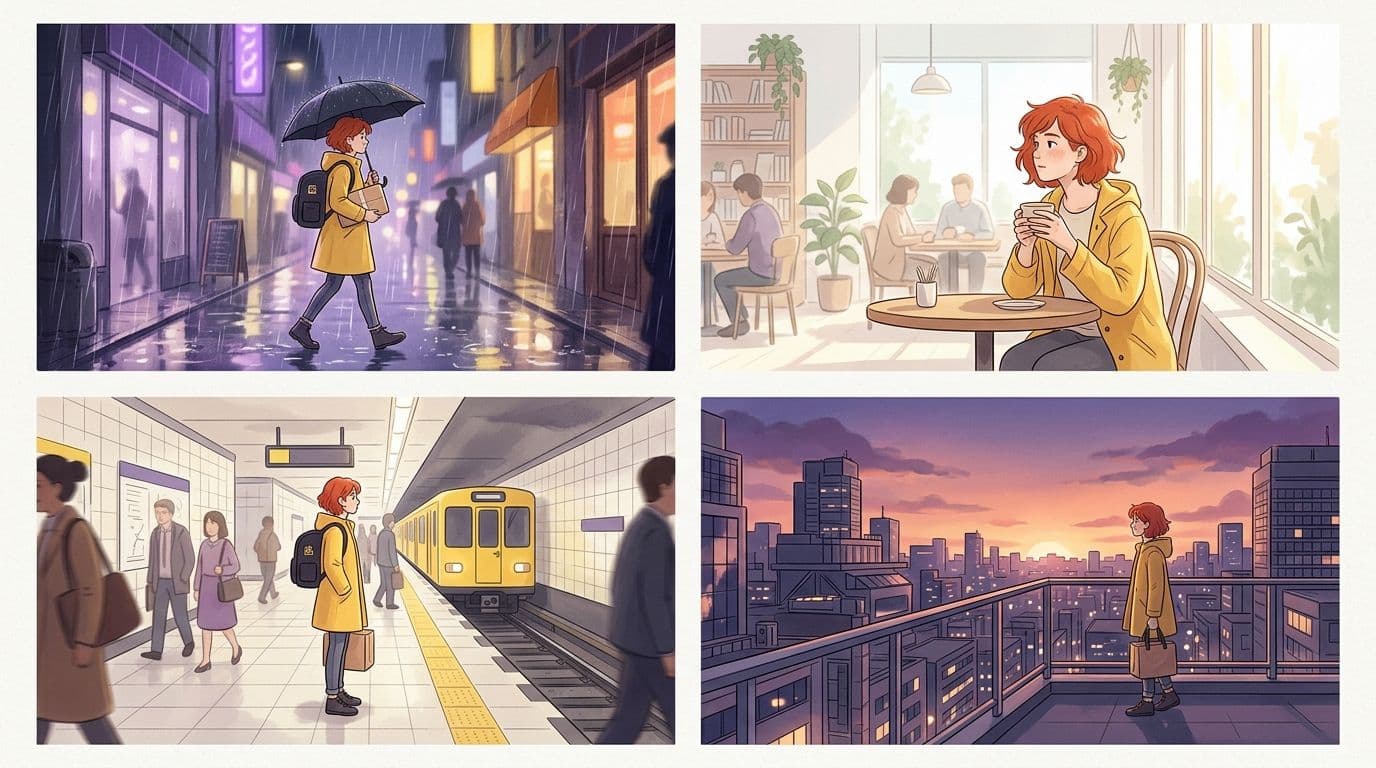
An image model has no memory between requests. Each run starts from random noise plus your prompt. "Red-haired woman in a yellow raincoat" fits thousands of faces, so the model picks a new one every time. Fixing the seed helps a little inside one model, but it stops working once you change the scene.
Pixels are what carry over from one run to the next. When you attach an image, the model can copy the face, hair and outfit from it instead of inventing them. So give the model something to look at, then ask it to change as little as possible.
Step 1: Build a master reference with a character sheet
A character sheet is one image that shows the character from several angles on a plain background. Everything else is built on top of it, so this is where to spend your attempts.
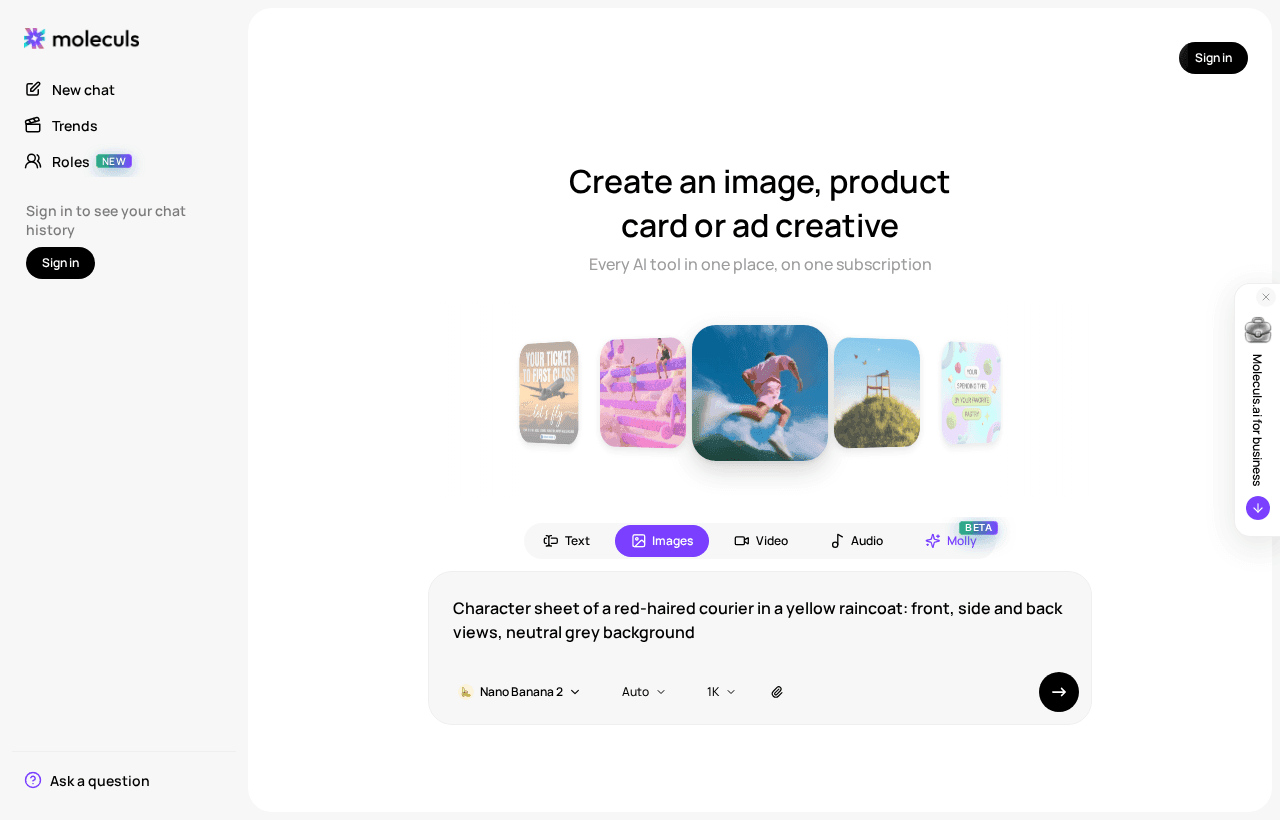
Character sheet of a red-haired courier in a yellow raincoat:
front, side and back views, full body, three facial expressions
(neutral, smiling, surprised), neutral grey background,
flat even light, no props, no textCheck these before you accept a sheet:
- the face is the same in every view, including the nose, eyebrows and freckles;
- the outfit details match front and back: pockets, zips, bag strap;
- the light is flat, with no hard shadows the model might later copy as features;
- nothing is cropped.
Expect several attempts. Once you have a good sheet, crop the front portrait and the full-body view into separate files, because you'll attach those later. You can run this exact character sheet prompt to see what a sheet looks like.
Step 2: Write a fixed character description you reuse in every prompt
The reference fixes the look, and the text tells the model which details matter. Write the description once and paste it word for word every time. Swapping "copper-red" for "auburn" between prompts is enough to shift the face.
CHARACTER: Mia, 25, bike courier.
FACE: oval face, light freckles across the nose, green eyes,
straight thick eyebrows.
HAIR: copper-red, shoulder length, messy, parted on the left.
OUTFIT: yellow knee-length raincoat, black cargo trousers,
white sneakers, grey messenger bag over the right shoulder.
BUILD: slim, average height.
STYLE: semi-realistic digital illustration, soft even lighting.A few rules keep the block useful:
- Describe only what's visible. Leave out personality and backstory.
- Name distinctive features, not generic ones. "Freckles across the nose" helps the model more than "pretty".
- Keep it to roughly 80 words, so the scene instructions don't get buried.
For more on prompt structure, see how to write prompts that models actually follow.
Step 3: Generate new scenes from a character reference image
Attach the front portrait and the full-body crop, then use this prompt frame:
Use the attached images as the character reference.
Keep face, hair, outfit and body proportions exactly as in the reference.
[paste the CHARACTER block from Step 2]
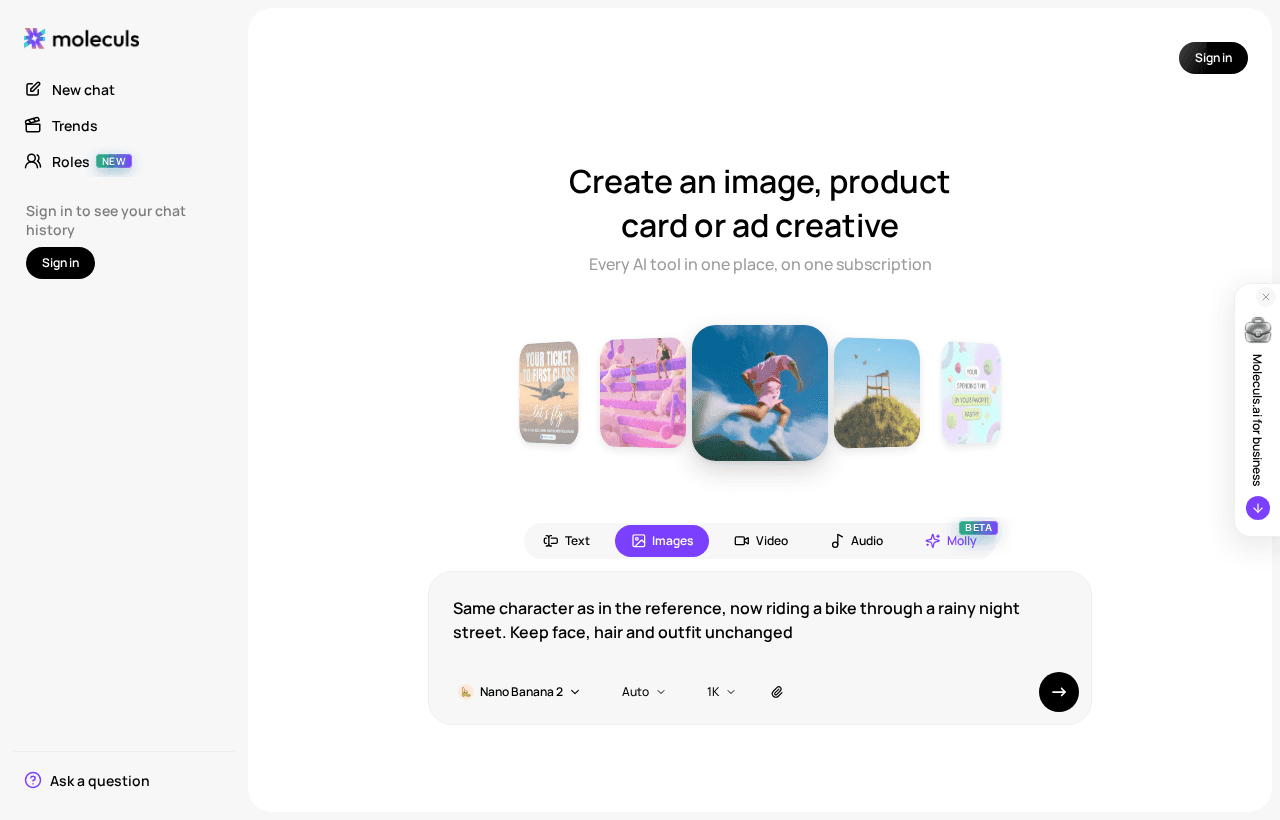
SCENE: riding a bike through a rainy night street,
neon reflections on wet asphalt.
POSE: leaning forward, three-quarter view from the left.
CAMERA: medium shot, eye level.
Change only the scene, pose and lighting.Test in this order. Start with a simple scene, a three-quarter view and a medium shot. Only once the face holds should you try close-ups, profiles, top-down angles and wide shots where the face is small.
To check a result, put it next to the reference at thumbnail size. If someone who has seen the sheet recognises the character without reading a caption, it passes. Then check the small details: freckles, eyebrow shape, hair parting, and which shoulder the bag is on.
Which image models handle multiple reference images: a comparison
Prices are credits per run in Moleculs as of September 2026. The current cost is shown next to each model in the interface.
| Model | Reference images per run | Credits per run | Worth knowing |
|---|---|---|---|
| GPT Image 2.5 Flare | up to 10 | 6 | Fast, good for cheap tests |
| GPT Image 2.5 Sunburst | up to 10 | 6 | Built for precise edits of complex images |
| ChatGPT 5 Image Mini | up to 10 | 8 | Faster and cheaper GPT Image model |
| ChatGPT Image 2 | up to 10 | 67 | Expensive, use for final shots |
| Nano Banana 2 Lite | up to 10 | 14 | Fastest in the Nano Banana line |
| Nano Banana 2 | up to 10 | 21 | Multi-image editing |
| Nano Banana Pro | up to 14 | 64 | Highest reference limit |
| Midjourney | up to 5 | 23 | Artistic styles |
| Nano Banana Editor | image-to-image | 8 | Edits one image by reference |
Flux 2 Pro, Seedream v4.5, Ideogram v3 and the image model of Grok Imagine are text-to-image only here. Use them to explore the look before you make the sheet, not to keep a character consistent.
To choose a model, run the same prompt with the same references through two cheap models, such as Flare and Sunburst, for three scenes each. Only move to a more expensive model if both lose the face. A failed run on Nano Banana Pro costs about ten times as much as one on GPT Image 2.5, so debug your prompt where mistakes are cheap.
Editing instead of regenerating: change the scene, keep the face
If an image is 90% right, don't regenerate it. Attach the finished image and ask for one change.
Edit the attached image. Replace the background with a sunny cafe interior.
Keep the character, pose, face, hair and outfit unchanged.
Match the lighting on the character to the new background.Make one change per request. Edits stack badly: after a few passes the face softens and colours drift. If you've gone three edits deep, go back to the master reference and generate the scene again rather than editing an edit of an edit.
Fixing drift: face, outfit and proportions that change between shots
Change one thing per retry, so you know what fixed the problem.
- Face drifts. Add a close-up portrait as an extra reference. Remove scene words that affect the face, like "tired", "weathered" or "dramatic side light". Hold off on profiles until the three-quarter view is stable.
- Outfit changes. Name every item in the character block with its colour and position. Remove any reference where the character wears something else, because conflicting references make things worse.
- Proportions shift. Always attach the full-body crop and add "same body proportions and head-to-body ratio as in the reference". Words like "wide-angle" or "fisheye" stretch bodies, so avoid them.
- Style wanders. Keep the STYLE line fixed, and never mix "photo" and "illustration" in one prompt.
If three focused retries fail, the problem is usually the reference, not the prompt. Regenerate the sheet with flatter light and a clearer face.
Taking the same character into video
Motion pulls faces out of shape, so get a consistent still first and animate that. There are two routes:
- Image-to-video. Your still becomes the starting point. Seedance 2.0 (image-to-video) uses the picture as the first frame. Kling 3.0 (image-to-video) animates it with camera movement. Veo 3.1 (image-to-video) and Wan 2.6 (image-to-video) also work this way, and HappyHorse Image-to-Video requires a reference image.
- Reference inputs. Kling 3.0 supports element references and multi-shot video. Seedance 2.0 and Seedance 2.0 Mini accept multimodal references.
In the video prompt, describe motion, not appearance: the image already carries the look. Keep clips short, avoid fast head turns, and check the last frame, because that's where drift usually shows. Video runs cost more than images, so check the price before you start. The full workflow is in the guide on how to turn your character stills into AI video.
Frequently asked questions
Related articles
See all
Corporate access to AI models
Invoice for legal entities, centralised payment, priority support
- Access to ChatGPT, Gemini, Grok, Claude and DeepSeek
- Prompt library and shared access inside the team